MERN Portfolio & Digital Product Marketplace
A production-ready MERN portfolio that sells your projects: Razorpay payments, ad & signup unlocks, OTP + Google login and a full admin CMS.
AnkulCodes is a complete full-stack MERN web application that works as a developer portfolio and a digital product marketplace in one. Visitors browse projects, code snippets and blog posts, and can get any item in one of four ways: free download, paid through Razorpay, unlocked by watching a 15-second sponsor message, or unlocked just by signing up. Accounts support email + password with OTP email verification, new-device verification and Google sign-in. An admin panel manages projects, gallery items and blog posts with a Markdown editor and Cloudinary image uploads. Payments are verified on the server and backed by a Razorpay webhook, and paid download links are never exposed before purchase. The project ships with a setup guide and technical documentation, and deploys on free tiers of Vercel, Render and MongoDB Atlas.
- Portfolio
- portfolio
- portfolio-marketplace
- marketplace
- mern
- react
- razorpay
- firebase
- jwt-authentication
- nodejs
- admin-dashboard
Pricing Plans
One-time payment
- Complete frontend + backend source code
- .env.example templates for every service
- Render and Vercel deployment configs
- Project Guide PDF (setup, deployment, troubleshooting)
- Free updates to this version
One-time payment
- Everything in Source Code
- Technical Documentation PDF (architecture, auth, API reference)
- Project Synopsis (PDF + editable DOCX)
- SRS Report (PDF + editable DOCX)
- Final Project Report with diagrams (PDF + editable DOCX)
- Architecture, ER, DFD, use-case and flow diagrams
One-time payment
- Everything in Source Code + Documentation
- Help installing and running the project locally
- Help deploying to Vercel + Render with your own keys
- Razorpay, Firebase and email setup assistance
- 30 days of support by email / WhatsApp
Project Documents
3 documents available

What is ankulcodes?
ankulcodes is a full-stack MERN application that turns a developer portfolio into a small online store. It shows your projects, code snippets and blog posts in a polished, animated website, and it lets visitors buy or unlock your work directly from the same site.
Everything a real product needs is already built and connected: user accounts with email verification, Google sign-in, Razorpay payments with server-side verification, an admin panel to publish content, transactional emails and image uploads. You configure your keys, deploy, and start selling.
Who is it for?
- Developers and freelancers who want a portfolio that also sells templates, projects and snippets
- Final-year / MCA / BCA students looking for a real-world, well-documented MERN project
- Learners who want to see how authentication, payments and an admin CMS fit together in one codebase
Key features
Public website
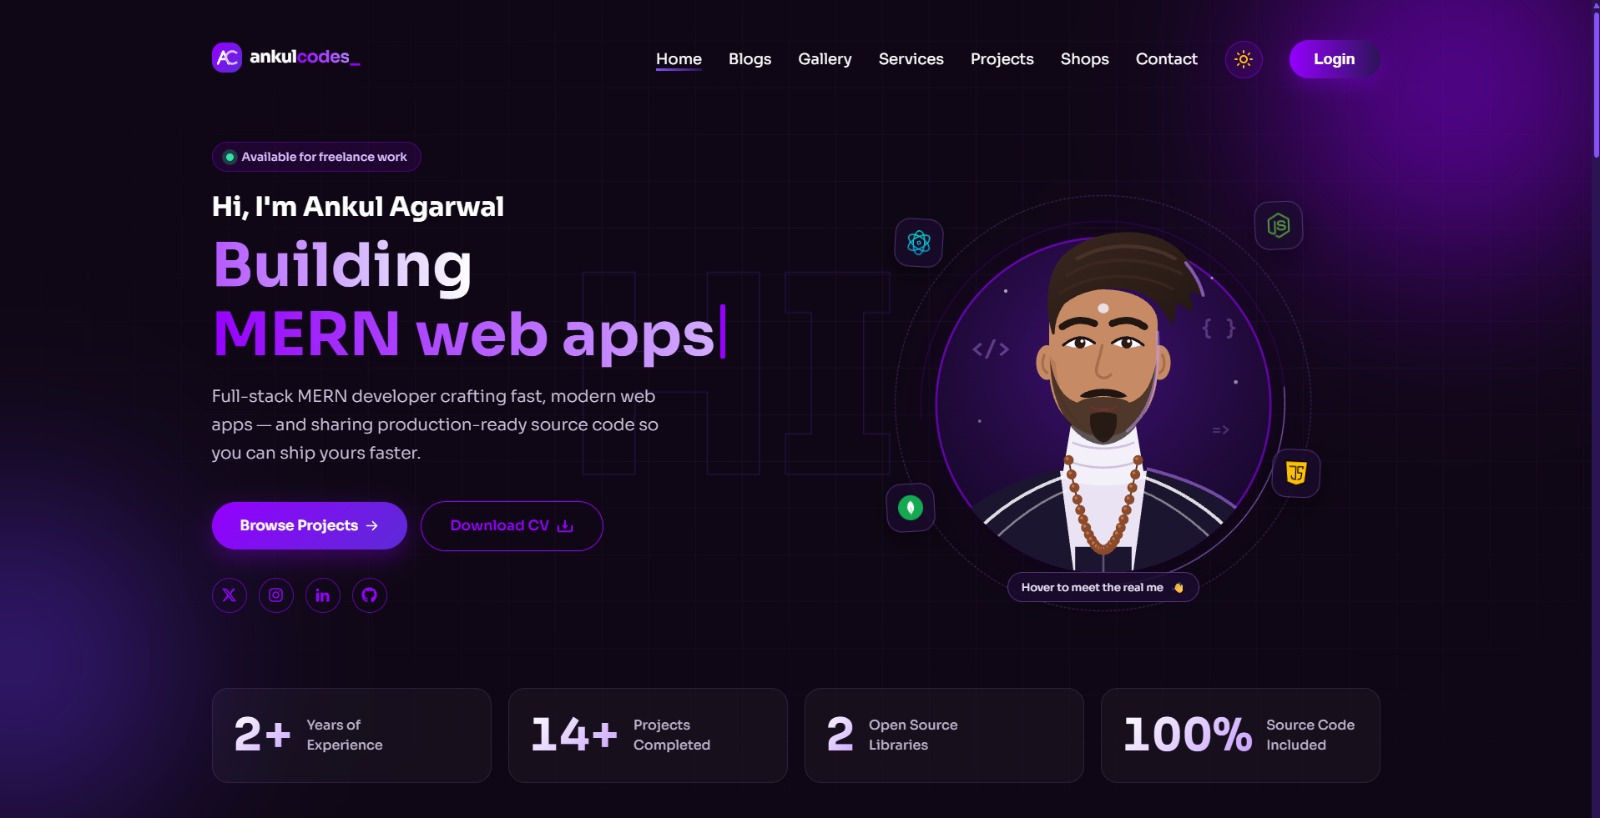
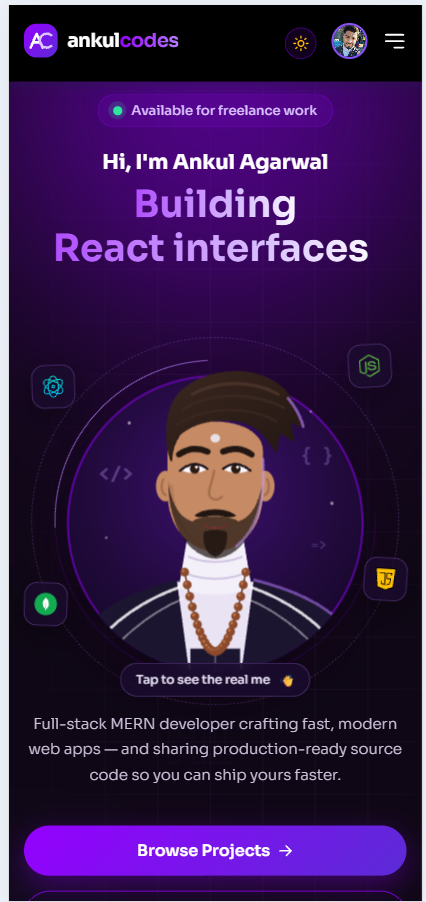
- Animated home page: illustrated avatar (hover reveals the real photo), typewriter headline, count-up stats, scroll-reveal sections
- Dark / light theme and fully responsive layout
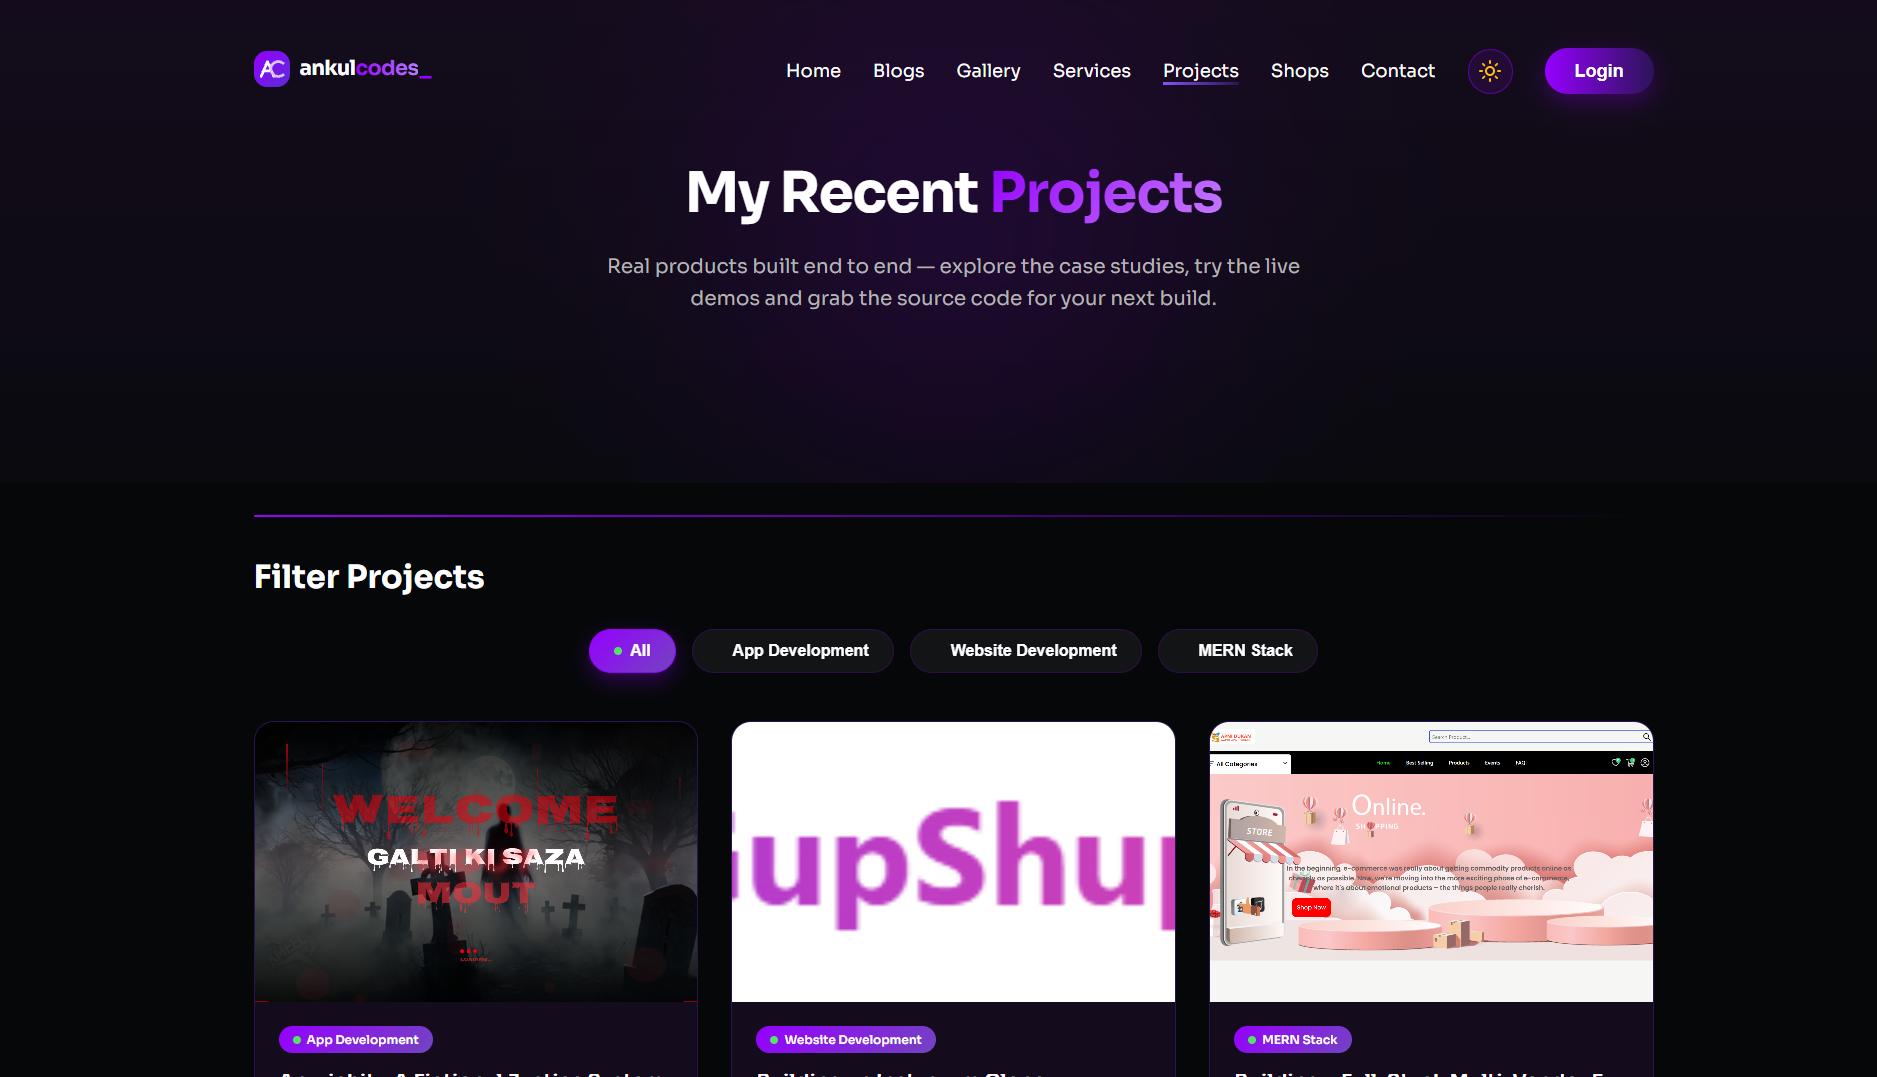
- Projects, Gallery (code snippets) and Blog with categories, search and Markdown content
- Contact form with email notifications, and a newsletter signup
Shop
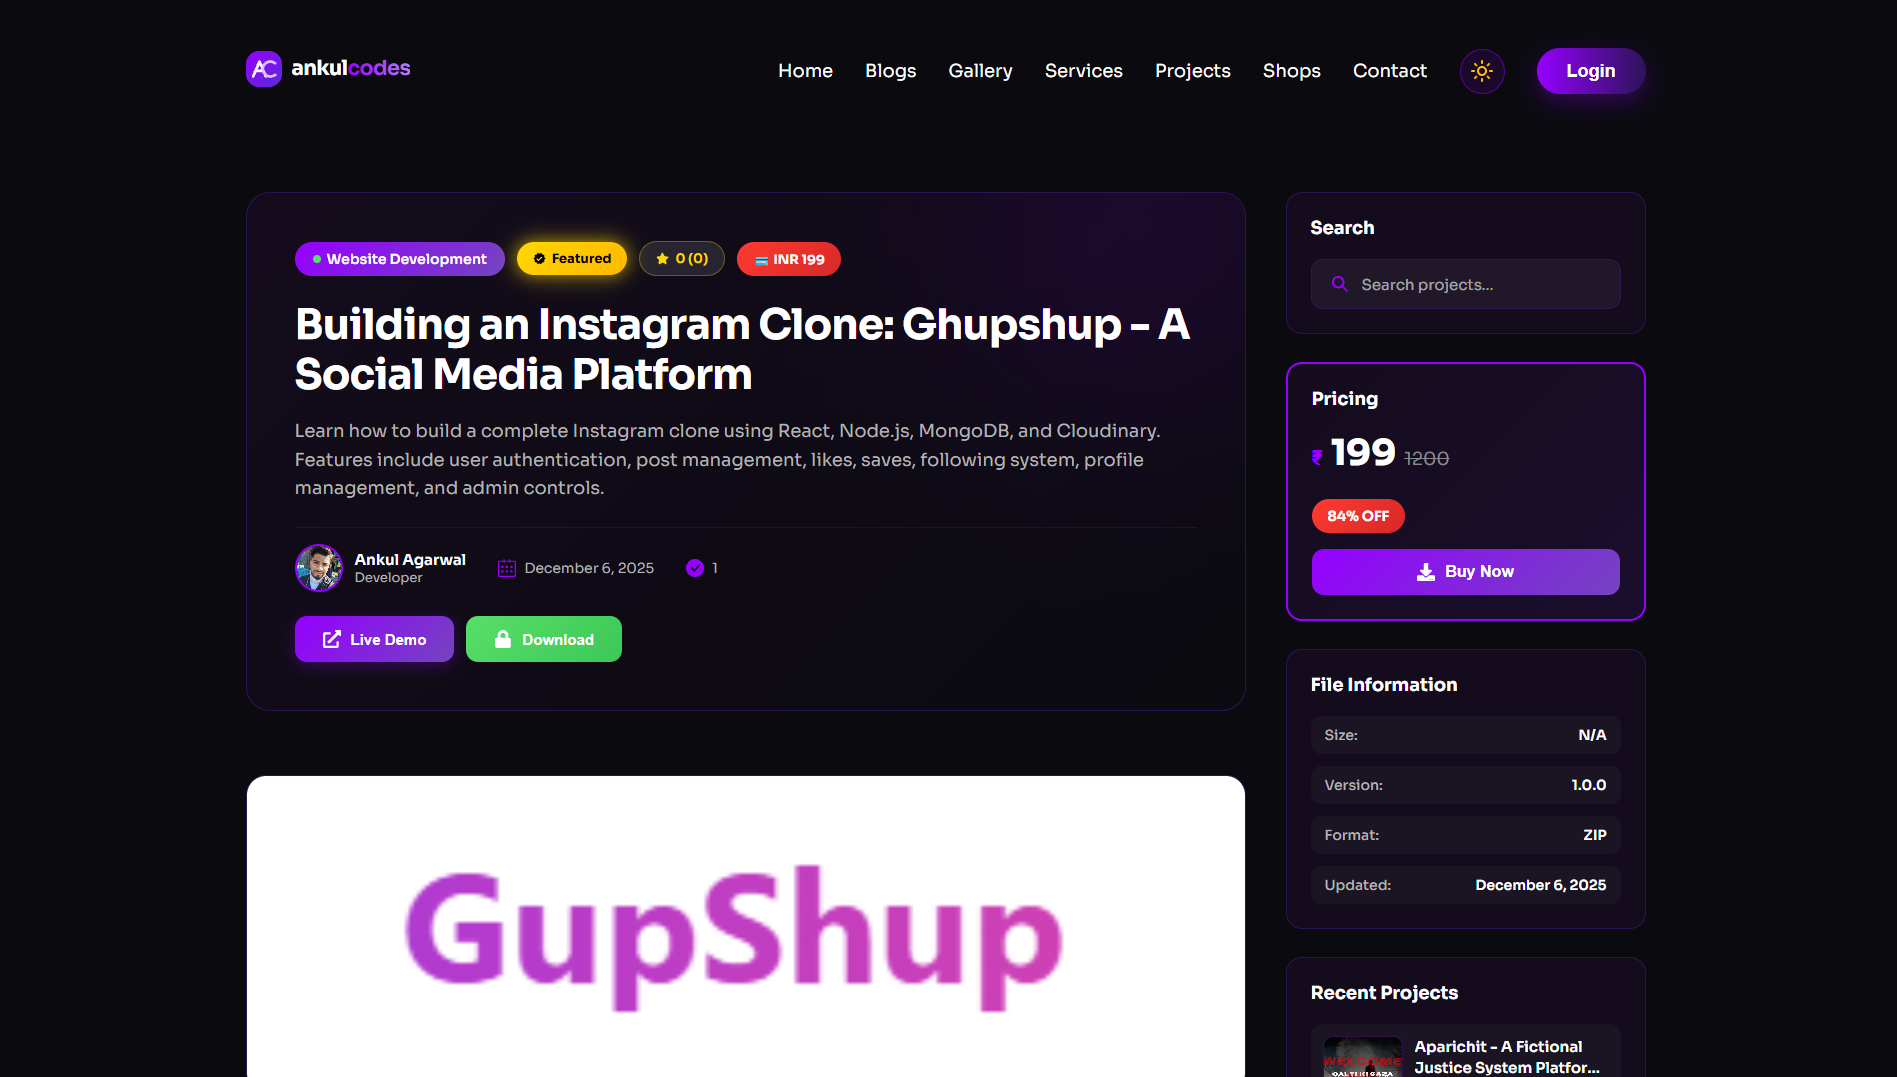
Every item in the shop has its own access model, set by the admin:
| Access model | How the visitor gets it |
|---|---|
| Free | Downloads immediately |
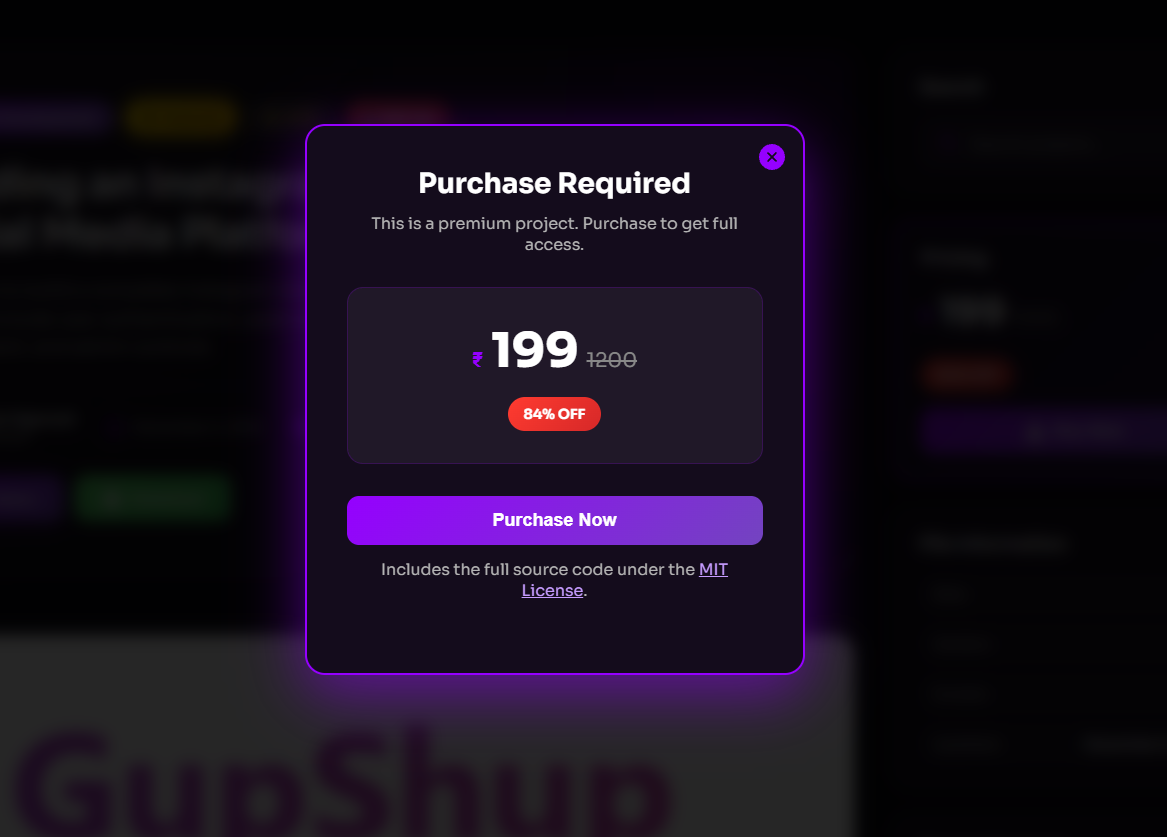
| Paid | Pays with Razorpay (UPI, cards, net banking); the download unlocks after the server verifies the payment |
| Ad-unlock | Logs in and watches a 15-second sponsor message (Google AdSense or a built-in promo card), enforced on the server |
| Signup-unlock | Free for logged-in users; a simple way to grow your user base |
Everything a user buys or unlocks is saved to their profile for re-download.
Accounts
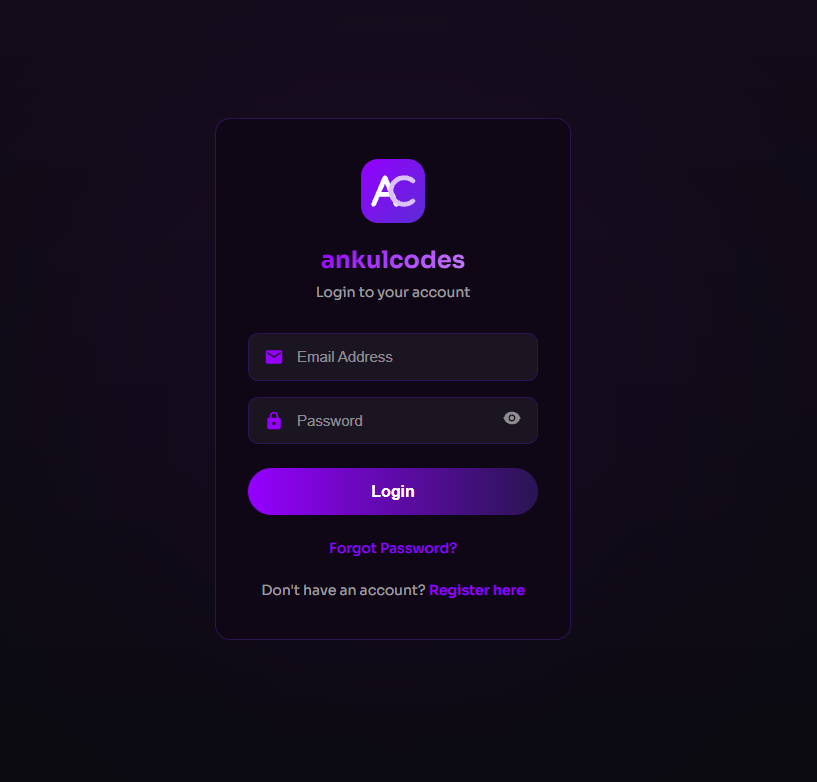
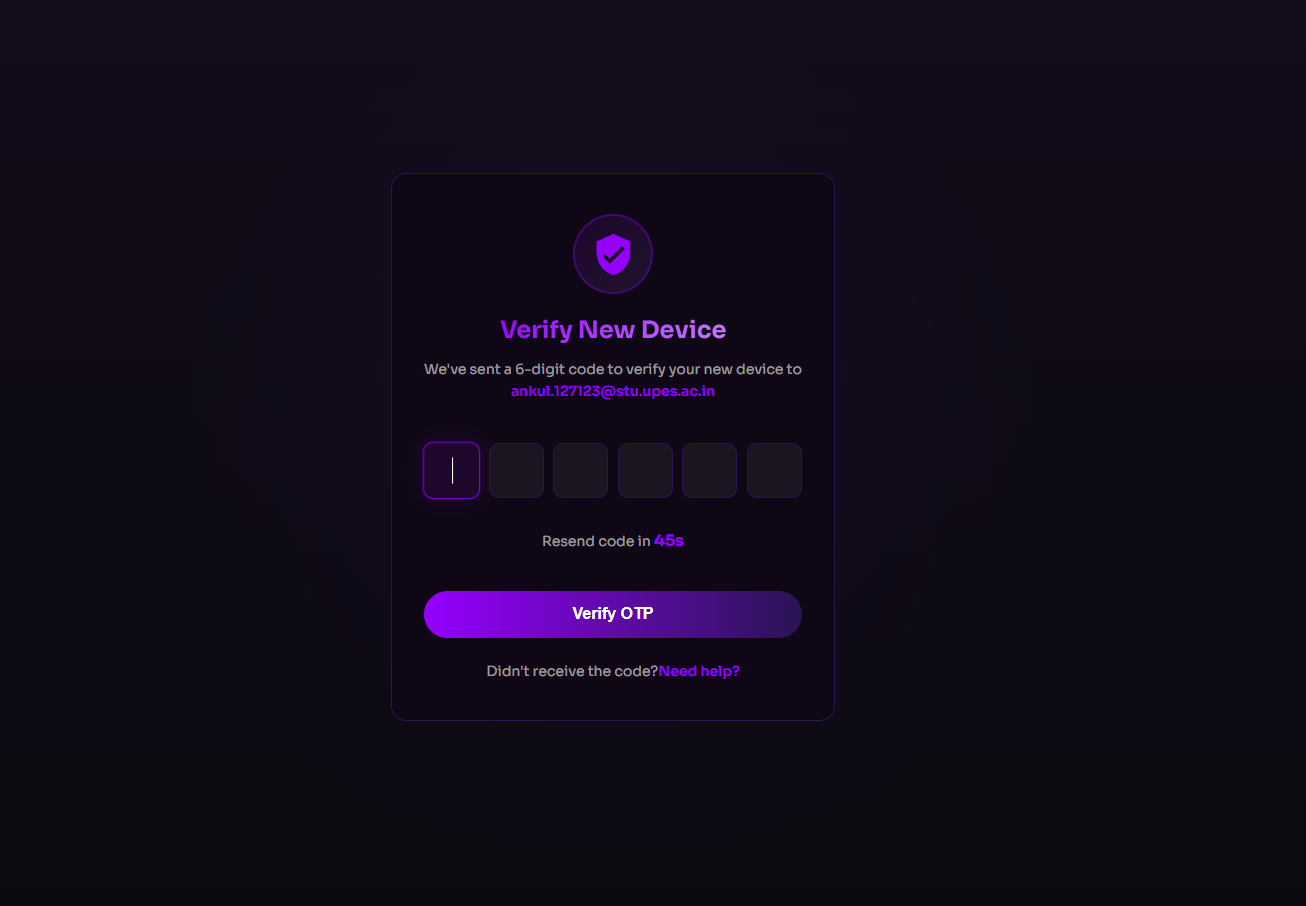
- Email + password registration with a 6-digit OTP sent by email
- New-device verification: a password login from an unknown device needs an emailed code
- Continue with Google (Firebase): one click, no OTP, because Google has already verified the email
- Forgot / reset password, change password, profile details and avatar upload
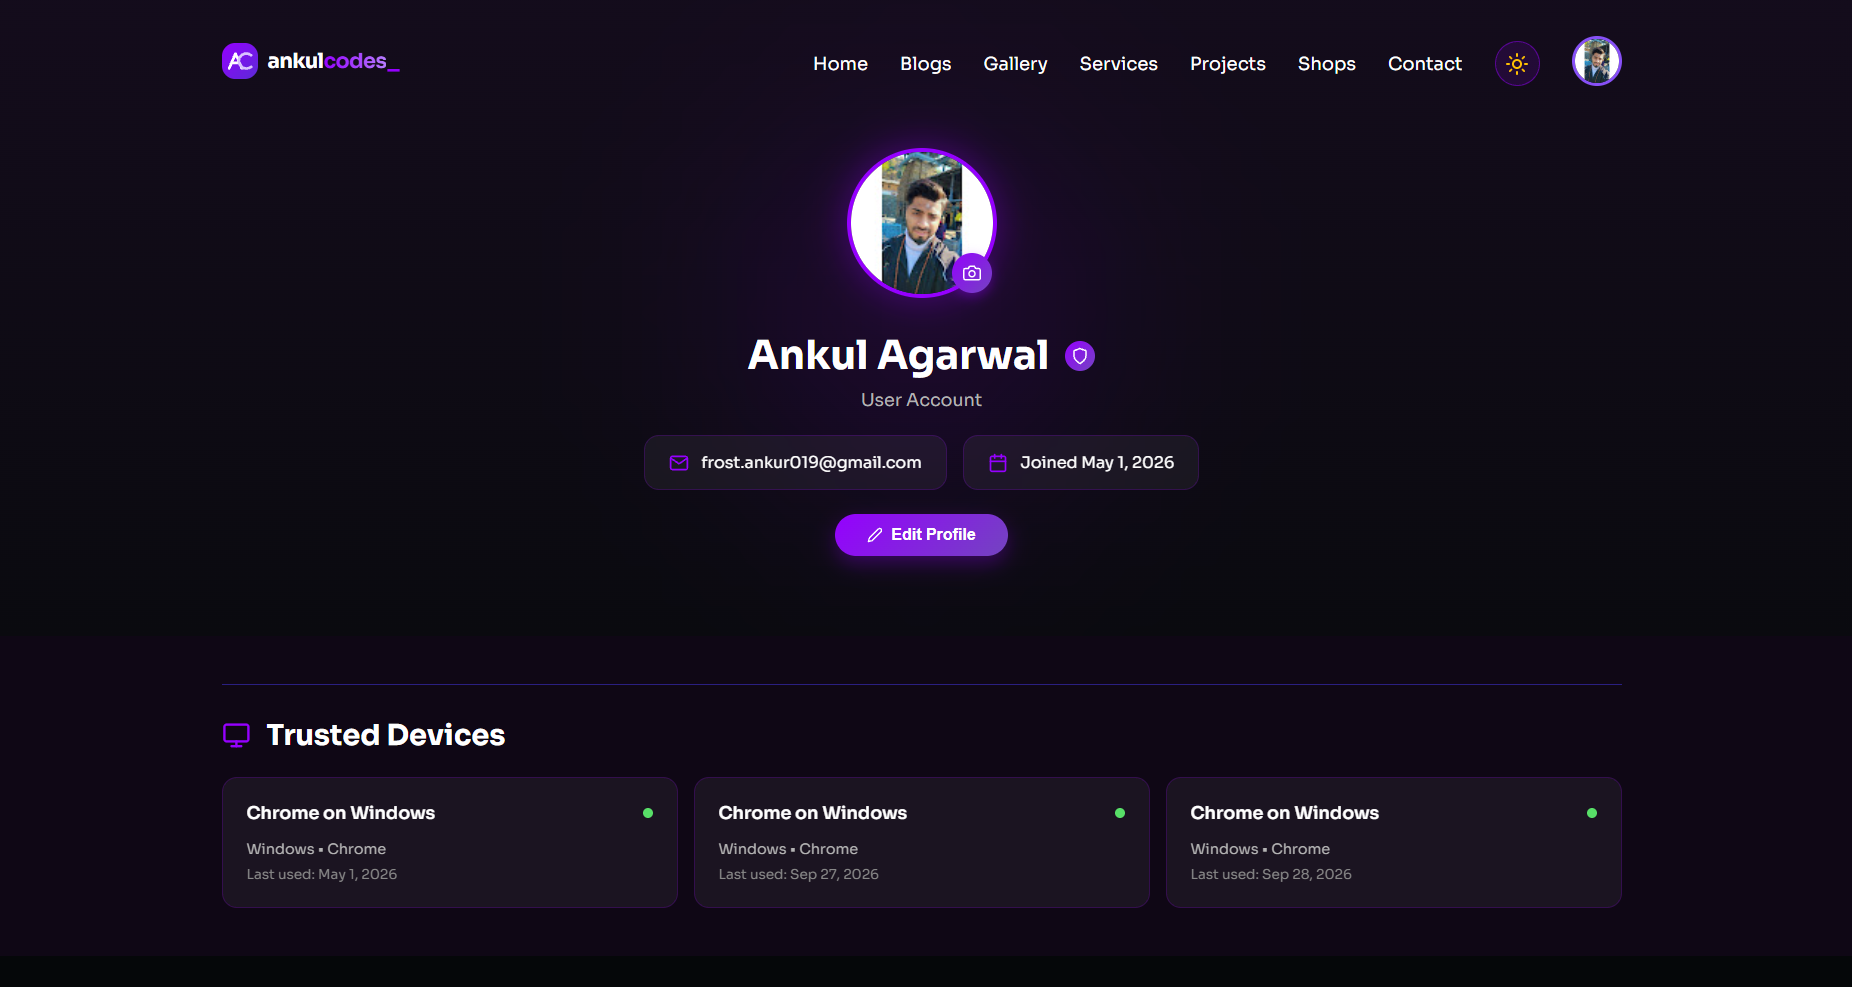
- Profile page with purchase history and saved blogs
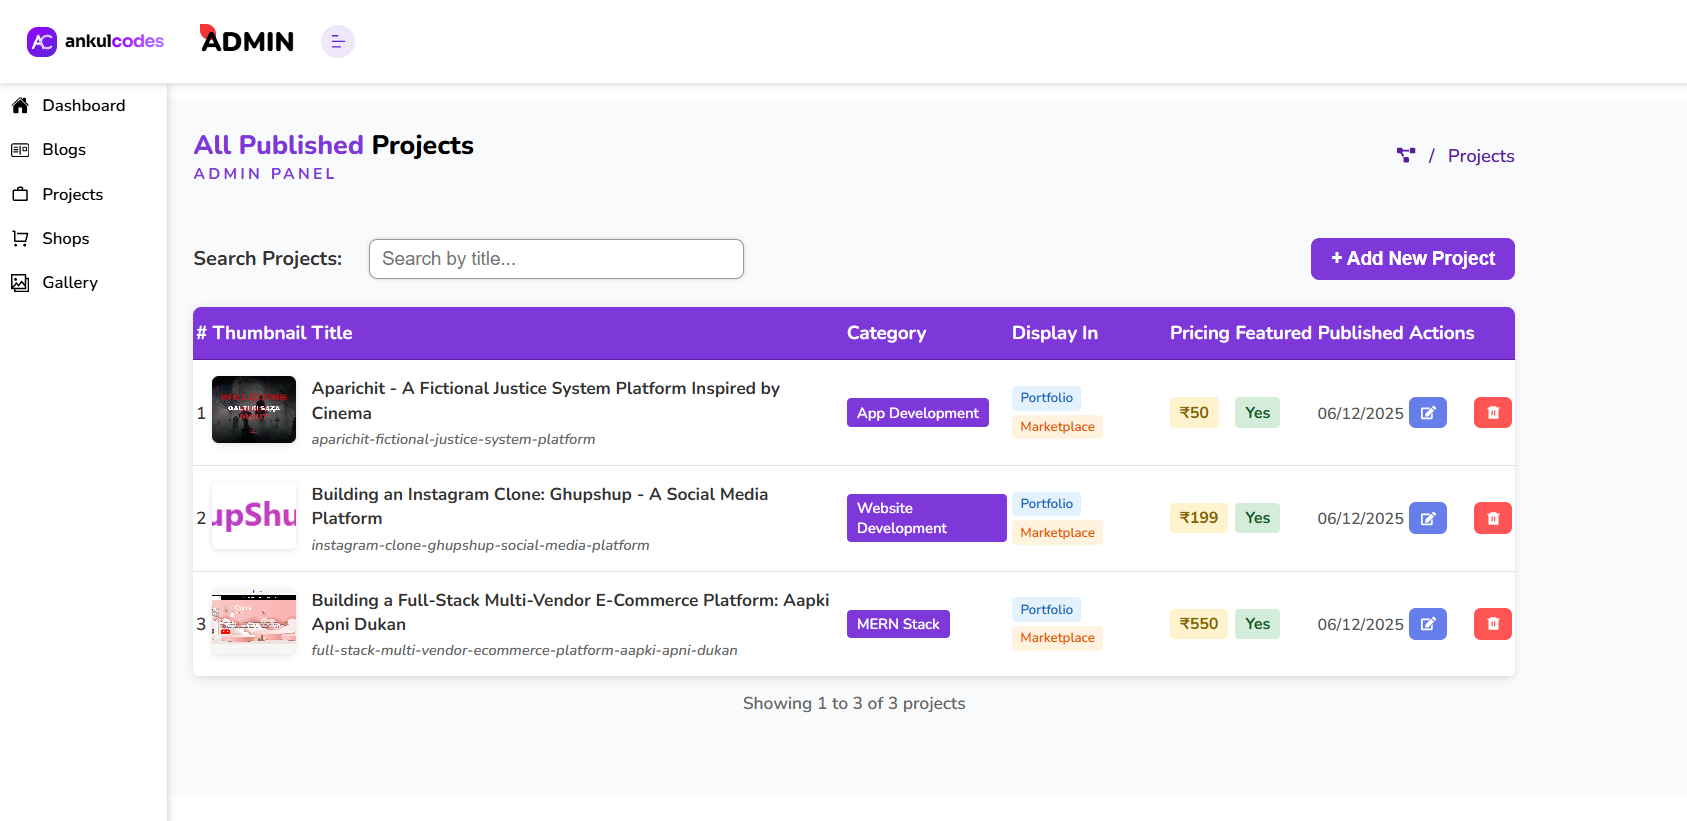
Admin panel (/admin)
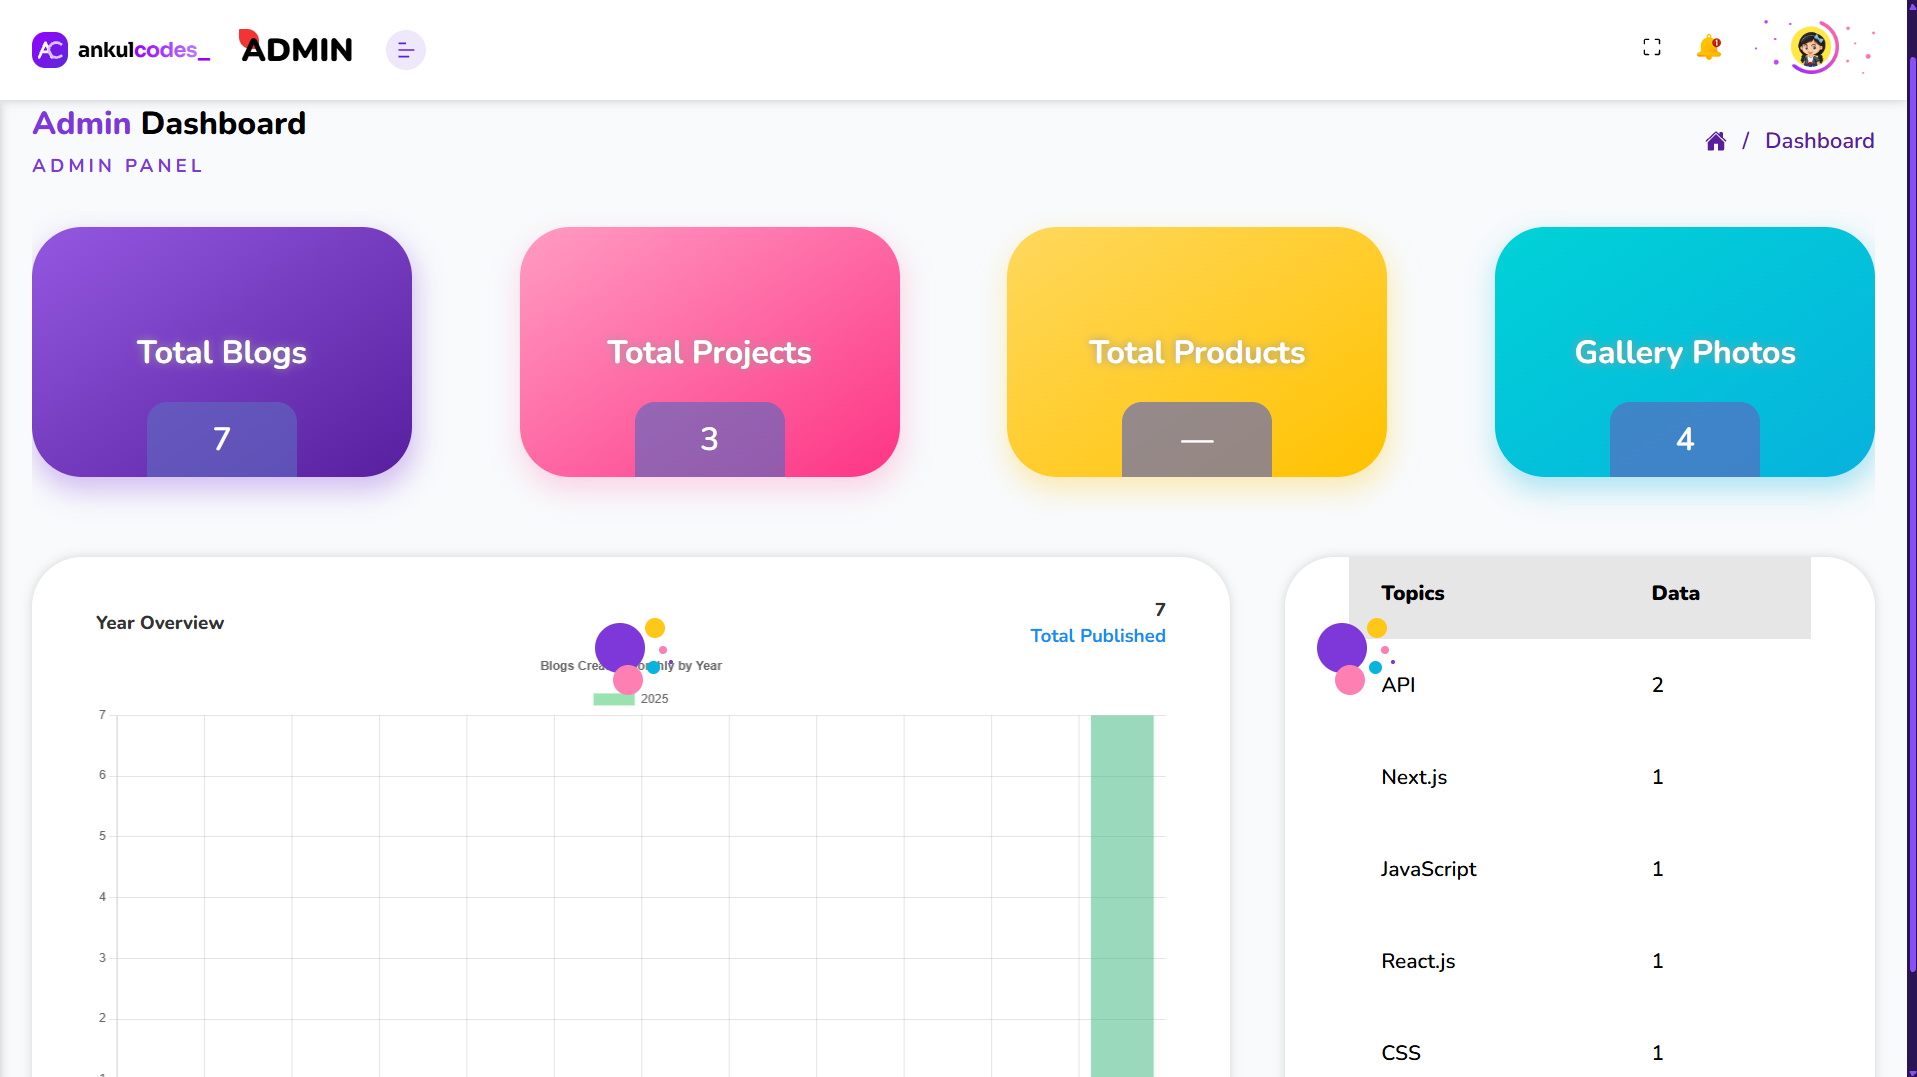
- Dashboard with quick access to every section
- Create, edit, draft and delete projects, gallery items and blog posts
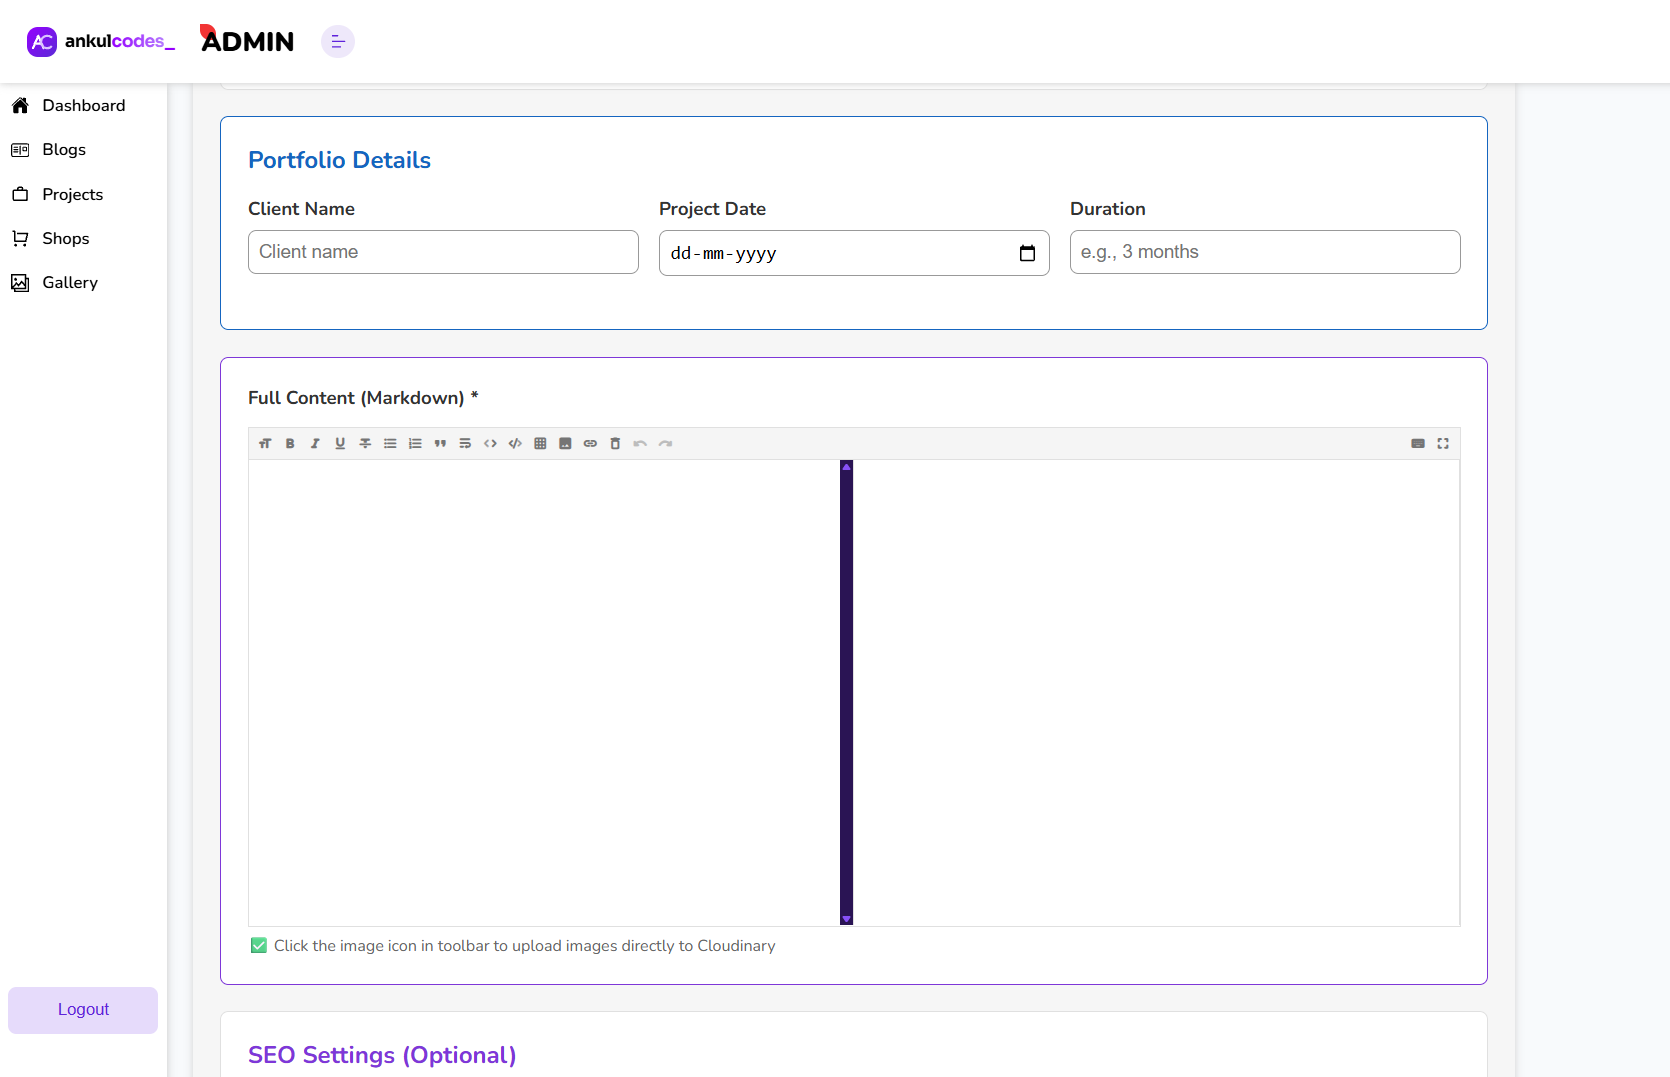
- Markdown editor with image uploads to Cloudinary
- Per item: pricing type, price, discount, download link, featured flag, SEO fields
Tech stack
| Layer | Technologies |
|---|---|
| Frontend | React 19, Vite 6, React Router 7, Redux Toolkit + redux-persist, Axios, CSS Modules, GSAP |
| Backend | Node.js 20, Express 5, Mongoose 8, express-validator, Helmet, express-rate-limit, Winston |
| Database | MongoDB (Atlas) |
| Auth | JWT access + refresh tokens, bcrypt, Firebase Authentication (Google) |
| Payments | Razorpay (checkout + signature verification + webhook) |
| Services | Brevo (email), Cloudinary (images), BullMQ + Redis (optional email queue) |
| Hosting | Vercel (frontend), Render (API), both on free tiers |
Security built in
- Passwords hashed with bcrypt, never returned by the API
- Short-lived access token + httpOnly refresh cookie, revoked on logout and password reset
- OTPs: random, expire in 10 minutes, constant-time comparison, locked after 5 wrong attempts
- Password reset uses a one-time server-issued token, so the OTP step can't be skipped
- Google tokens verified on the server with Firebase Admin
- Role-based access: the admin role is checked against the database on every request
- Paid download links are never sent to the browser before purchase
- Server-side pricing, HMAC signature + amount + status checks on every payment, signed webhook
- Helmet headers, CORS allow-list, rate limiting on login / OTP / contact routes
- Input validation on every route and HTML-escaped emails
What you get
- Complete source code:
client/(React) andserver/(Express API) -
.env.examplefiles listing every variable, with comments -
render.yamlblueprint for one-click API deployment on Render, andvercel.jsonfor the frontend - Project Guide (PDF): service setup, running locally, using the site, deployment, troubleshooting
- Technical Documentation (PDF): architecture, auth flows, data model, full API reference
- Synopsis, SRS and Project Report with diagrams (in the documentation tiers)
- Free updates to this version
Quick start
bash1# 1. API 2cd server 3cp .env.example .env # add your MongoDB, Brevo, Cloudinary, Firebase, Razorpay keys 4npm install 5npm run dev # http://localhost:9020 6 7# 2. Website (new terminal) 8cd client 9cp .env.example .env 10npm install 11npm run dev # http://localhost:5173
Register on the site, set role: "admin" on your user in MongoDB, and the admin panel opens at /admin.
Deployment
The frontend deploys to Vercel and the API to Render; the database runs on MongoDB Atlas. All three have free tiers, so you can go live without paying for hosting. The included guide walks through every step, including the Razorpay webhook and the Google sign-in domain setup.
Easy to rebrand: your name, contact details and social links live in one config file, and the logo, hero text and email templates each sit in a single component. Make it yours in minutes.
Modules (7)
API Endpoints
/api/v2/auth/register/api/v2/auth/login/api/v2/auth/google-login/api/v2/auth/verify-otp/api/v2/auth/reset-password/api/v2/user/me/api/v2/user/update-profile/api/v2/user/purchase-history/api/v2/user/get-in-touch-me/api/v2/project/get-all-project/api/v2/project/get-project-by-slug/:slugDatabase
Tech Stack
React
v19.1
Nodejs
v20+
MongoDB
vAtlas
Vercel
OnRender
Brevo
Cloudinary
Upstash
Compatibility
🔗 Project Links
What You'll Learn
Prerequisites
Setup Instructions
Estimated time: 45 minutes
1. Unzip the project. It contains two folders: `server` (API) and `client` (website).

2. Create free accounts: MongoDB Atlas, Brevo, Cloudinary, Firebase (enable Google sign-in) and Razorpay (test keys).

3. **API:** `cd server` → copy `.env.example` to `.env` → fill in the keys → `npm install` → `npm run dev` (runs on port 9020).

4. **Website:** `cd client` → copy `.env.example` to `.env` → set `VITE_SERVER=http://localhost:9020/api/v2` → `npm install` → `npm run dev` (port 5173).

5. Register on the site, set `role: "admin"` on your user in MongoDB, then log in again. The admin panel is at `/admin`.

6. To go live, follow the deployment chapter of the Project Guide (Render for the API, Vercel for the website).
❓ FAQs
Found this useful?

Written by